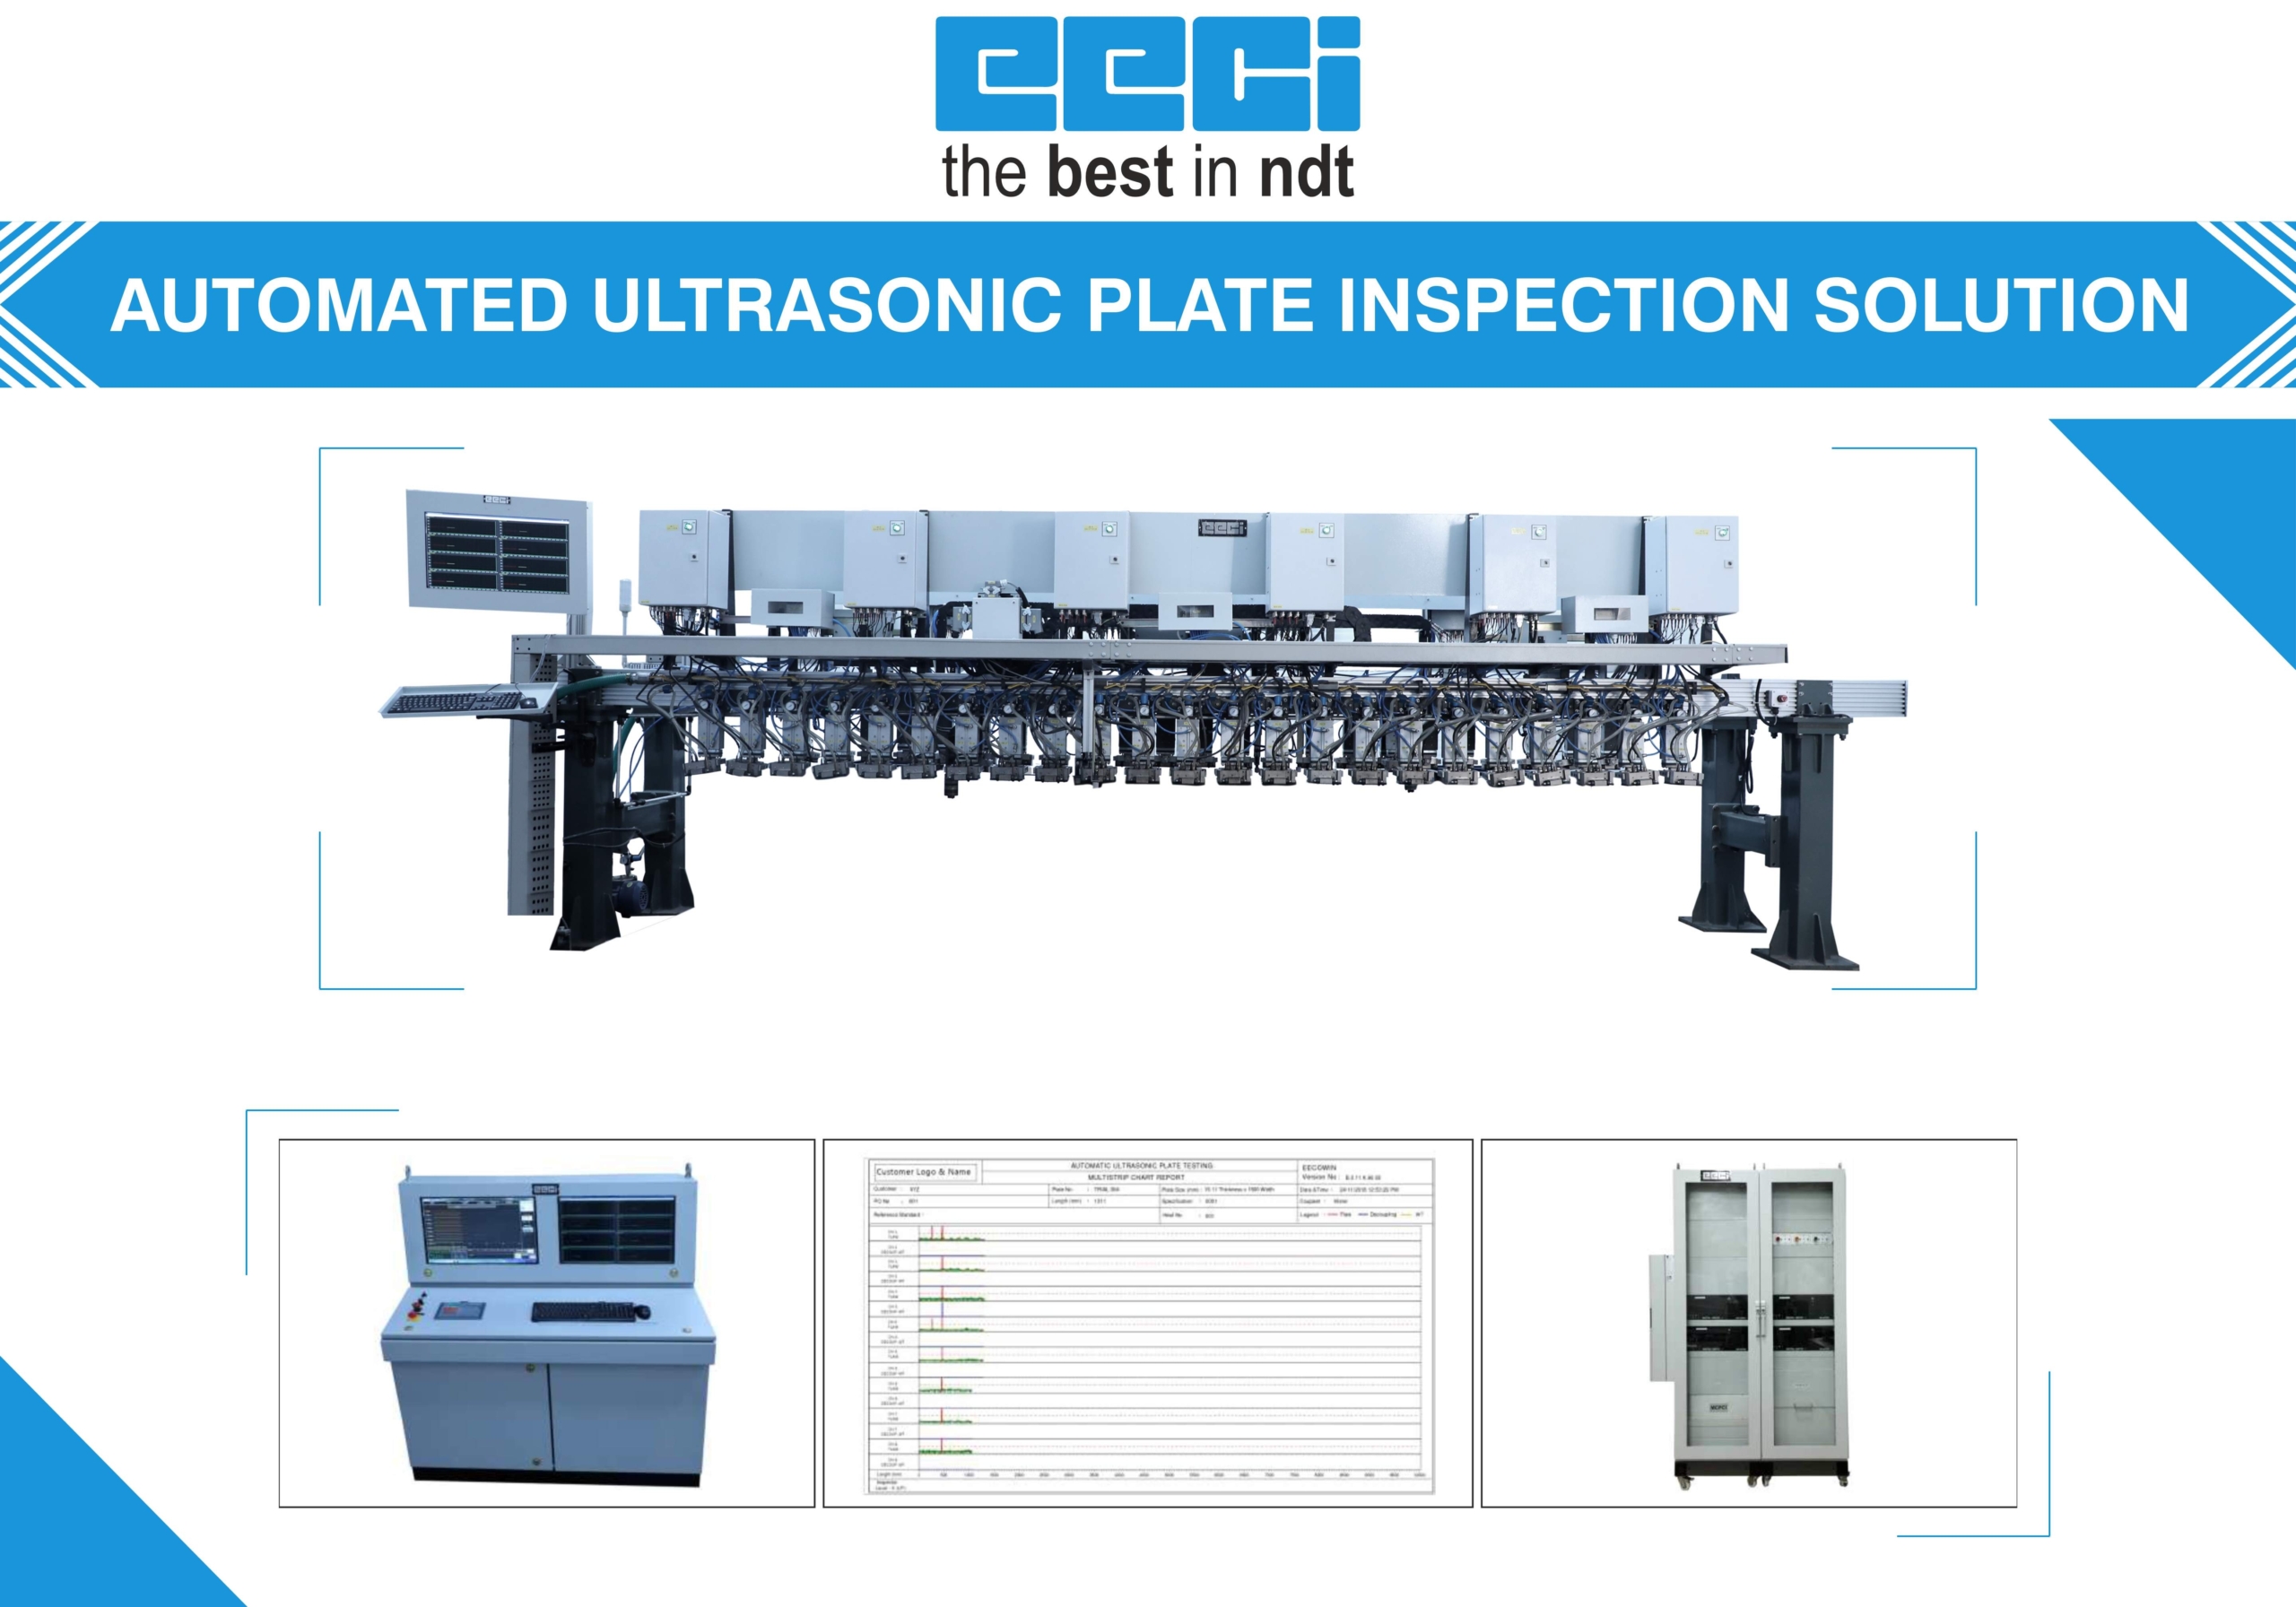
EECI is proud to present an automated ultrasonic inspection solution to test plates for lamination defects in L-saw welded pipe mills and plate manufacturing mills. Further, the wall thickness can be monitored to ensure that it is within permissible limits throughout the plate’s cross section.
This solution is suitable for detecting laminations and other manufacturing defects, which are parallel to the surface. The system also adheres to the requirements of ASTM – SA 435, API, SA 578, API 5L, ISO 12094, ISO 10893-9, EN 10160, SHELL, TOTAL, DNV and other similar international specifications.
The plate can be 5 m in width, 20 m in length and it’s thickness can vary from 3.5 mm to 60 mm. The solution can be customized to cater to different plate materials, such as carbon steel, stainless steel or similar. Sensitivity settings are done using 3 mm flat bottom holes at various depths, including 2 mm from near and far surface. The wall thickness measurements have a resolution of ±0.001 mm. The system is customized based on the coverage/overlap requirement of the client and can go up to 130% and the inspection speed can go up to 25 m/min. The repeatability of the calibration plate has an amplitude variation of just ±5% in dynamic runs.
Based on the material and sensitivity requirement, the transducers are customized to get exceptional S:N ratio, focus and coverage. Our solutions may have up to 176 channels for specialized applications of wide plates, lower thickness and high sensitivity.
The solution consists of a high end PLC and HMI system, which allows the operator to easily control the complete system in auto or manual mode. Every mechanical movement, including probe engagement, water supply, alarm systems can be controlled via the operating desk. Multiple sensors give continuous feedback to the automation system, so that the operator can monitor the status of the system.
A high end industrial grade PC hosts the acquisition and analysis software. This software is used to setup the UT parameters individually for each channel. During the inspection cycle, individual strip charts for aws and WT are displayed in real time. Further, multiple reports of customized formats, including CScan can be generated for post analysis by the operator.
For more information and demonstrations, please get in touch with our Sales Team.


